How to use the Magic Wand tool in Inpaint
Using the Magic Wand tool in Inpaint
The Magic Wand tool is a quick way to select a large complex-shaped area with just several clicks. Here is how the tool works in Inpaint.
Select the tool on the toolbar. The mouse cursor changes to a cross. Now choose the mask (red) or the donor (green) on the toolbar. The mask allows you to define areas you want to remove, while the donor color designates parts of the picture that Inpaint will be using to restore background of the deleted objects.
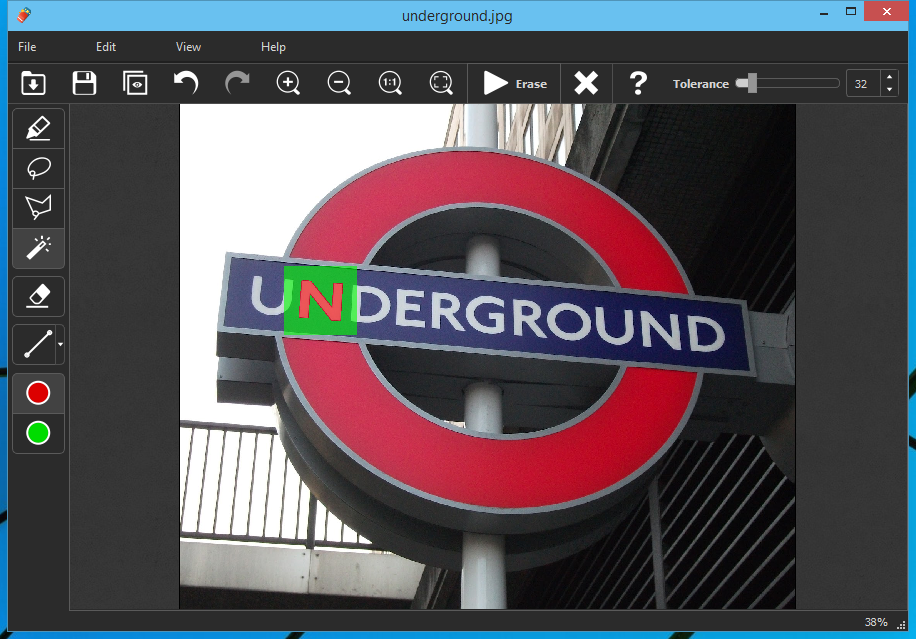
For example, let's say I want to select the white letter 'N'. All I need to do is click anywhere on the letter with the Magic Wand.

Note, like any other graphical editor, Inpaint automatically determines boundaries of the selected area. That's why the instrument is called a Magic Wand, after all. And now to the interesting part.
Magic Wand Tolerance
The Magic Wand tool has a setting named 'Tolerance'. It determines the range the target color can vary. The target color is a color of the pixel you click when apply the tool. For example, the default tolerance value of 32 means the tool selects all pixels of the chosen color and all adjacent pixels up to 32 tone grades up and down from it. The higher the tolerance, the wider the color range is. Tolerance of 0 means only pixels of exactly the same color will be selected. Tolerance of 255 means the entire picture, all pixels, will be selected.
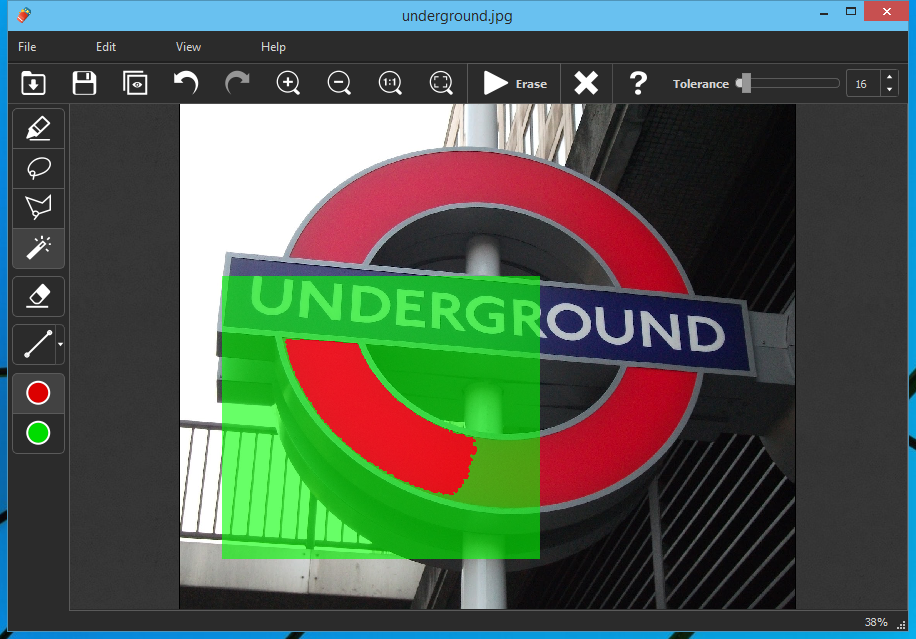
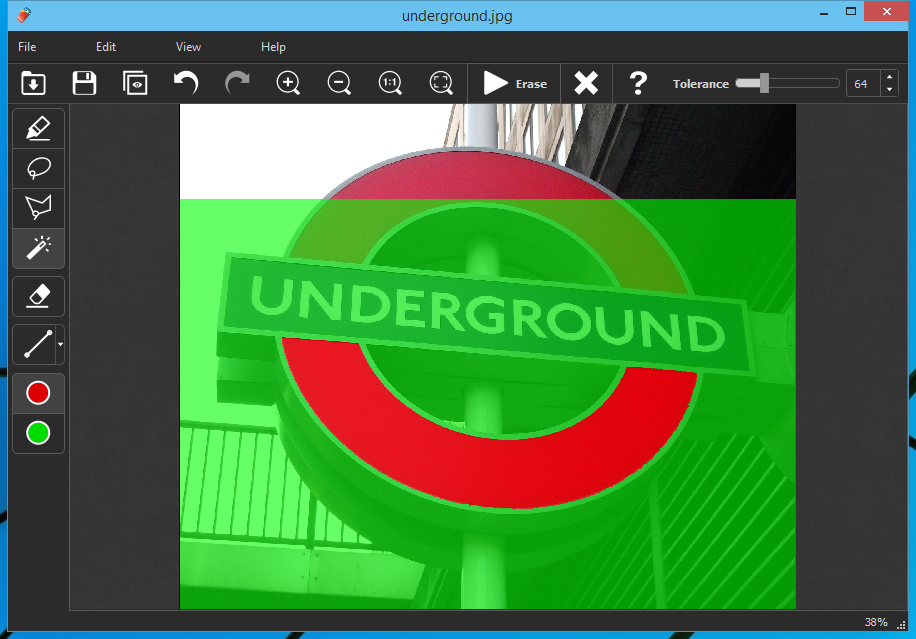
Selecting the solid colored letter was easy enough. Now, let's change the tolerance value up and down and see the changes on a real-world example. The selected area after clicking in the left of the bottom semicircle:

Here we set tolerance to 16.

Here we increased the tolerance to 64. Note how the selection has expanded in comparison with the above picture.
Conclusion
Magic Wand is a very handy tool when you need precise selection of areas to remove or donor areas. At the same time it is more flexible and faster than a typical lasso tool and more accurate than the default marker.
