How to remove black areas from merged panoramic photos
Image stitching merges several photos into one continuous panoramic image, and if done properly, fixes distortions and eliminates exposure differences between photos. This results in a perfectly aligned panoramic image, yet having several dark areas, which is the result of the distortion correction procedures.
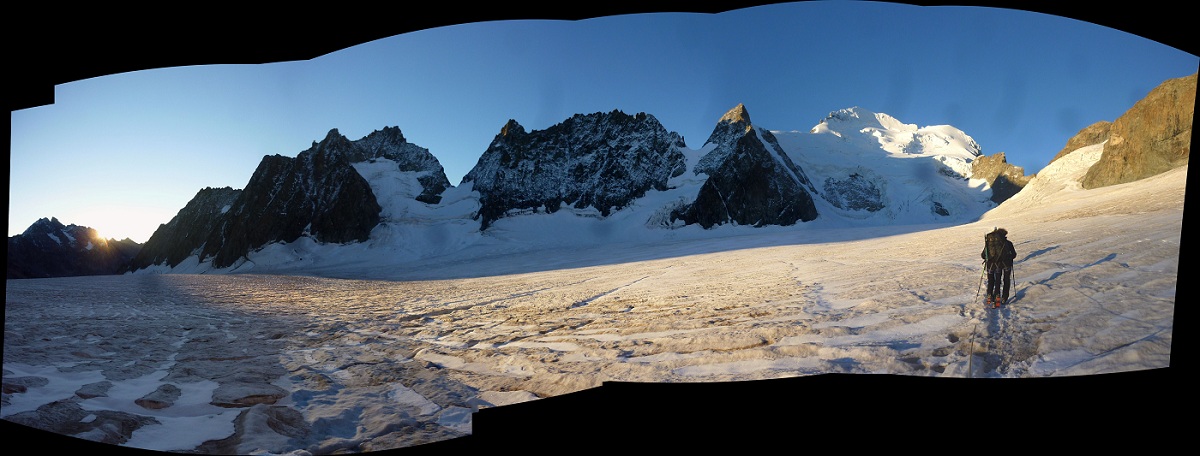
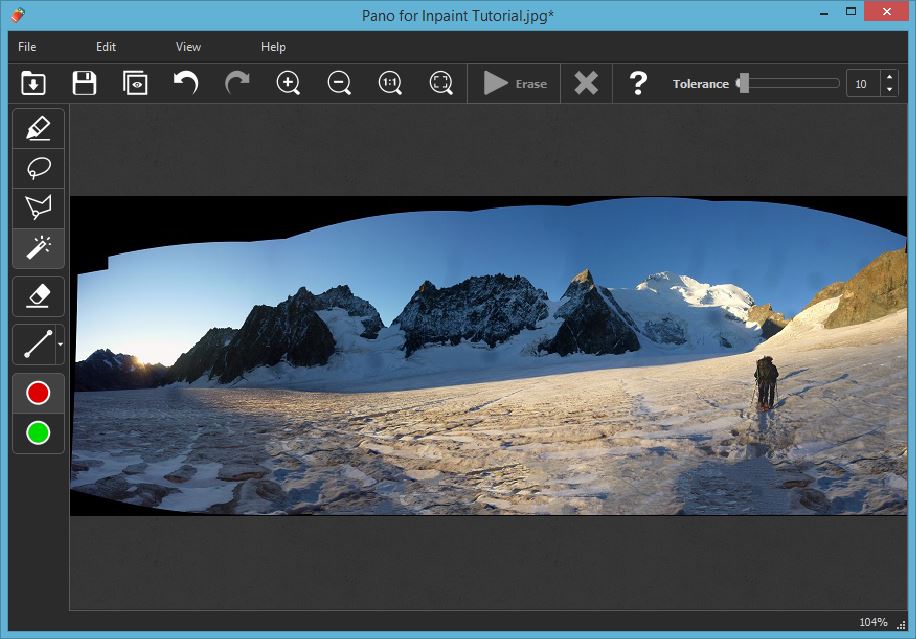
A typical panoramic image with dark areas looks like this:
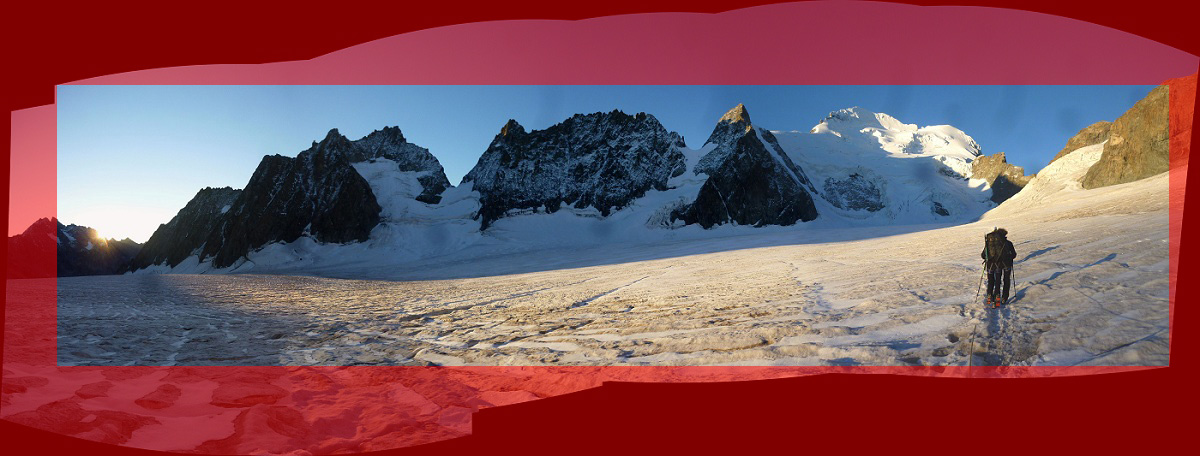
Nicely done, but in order to make those nasty dark areas invisible you would have to crop the image and therefore lose a significant part of the photo and possibly ruin the entire composition:
Inpaint offers alternative solution! Instead of barbarically removing dark areas from the image, the program delicately restores them from the surrounding parts of the photo. Here is how this can be done:
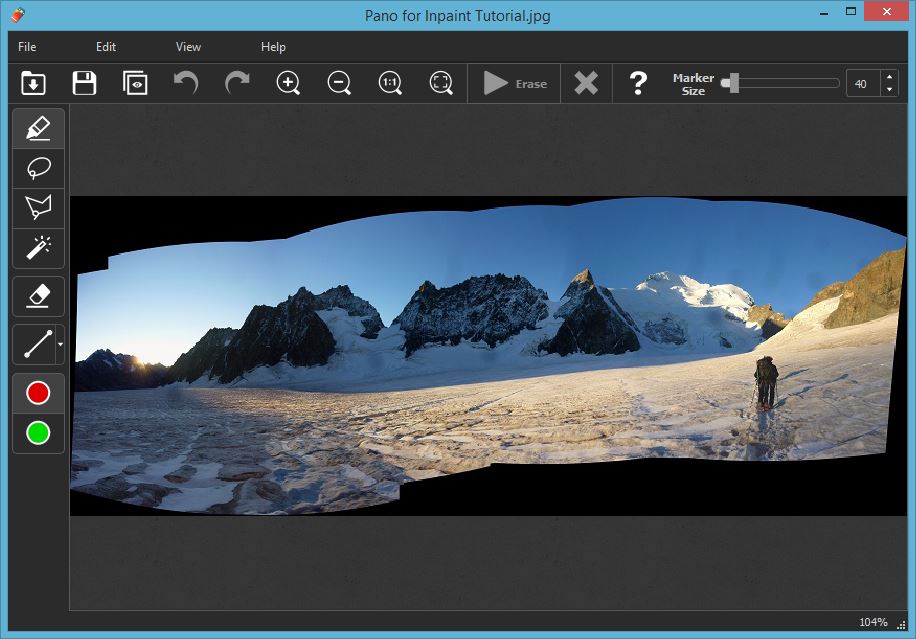
Step 1: Open the desired panoramic image in Inpaint
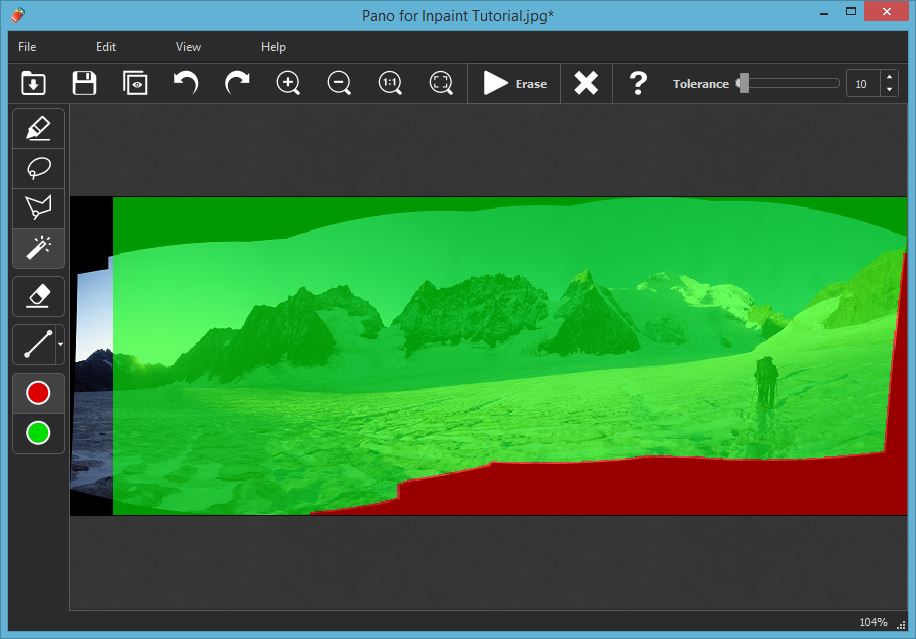
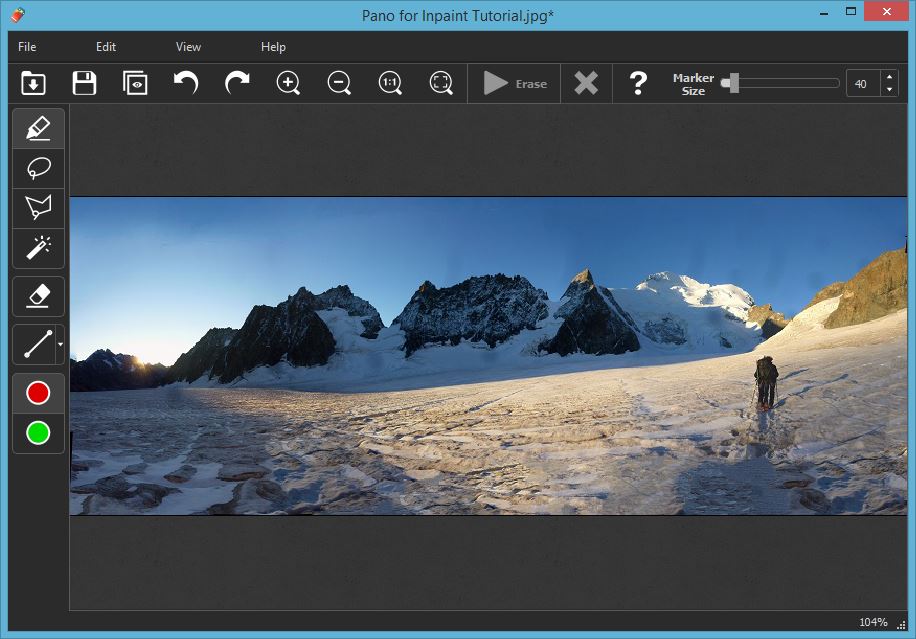
Step 2: Use the Magic Wand tool and select a dark area on the image and run the restoration process
Magic Wand tool has a Tolerance slider, which determines the range of colors that will be selected when you click on the initial point. The higher the tolerance, the larger the resulting selection.
Repeat this step for each dark zone on the panorama
Step 3: Save the result
Inpaint automatically restores the information in the empty areas, so you finally get the ideal photo:
Also you probably interested in:
How to Stitch Photos to Panorama using PhotoStitcher
Taking a photo of massive or large-scale objects is a real pain even for pro photographers. A breath-taking old temple barely fits in the camera view. Making several shots and stitching them together into the panorama would be a solution.