Retouch a collection of pictures with typical watermarks, for example a photo date-time stamp
While removing an unwanted object from a photo with Inpaint is easy, it may still consume a lot of time if you have a whole bunch of pictures to process. But with Inpaint's batch mode you can process many images with the same mask. There is only one limitation: images must have the same size and orientation with the mask. If you have images with different size and orientation, you need to split them into groups and process separately.
Watermarks, time stamps, glitches, scratches, facial wrinkles, power lines, persons accidentally caught by the camera in the very moment of a shot and other things can be effortlessly erased from photos in automatic mode. Here is how things work:
Step 1: Open image
First of all, load the images you want to process into Inpaint. The easiest way to do this is to specify a folder with photos in the program, however you can also load individual image or images too.
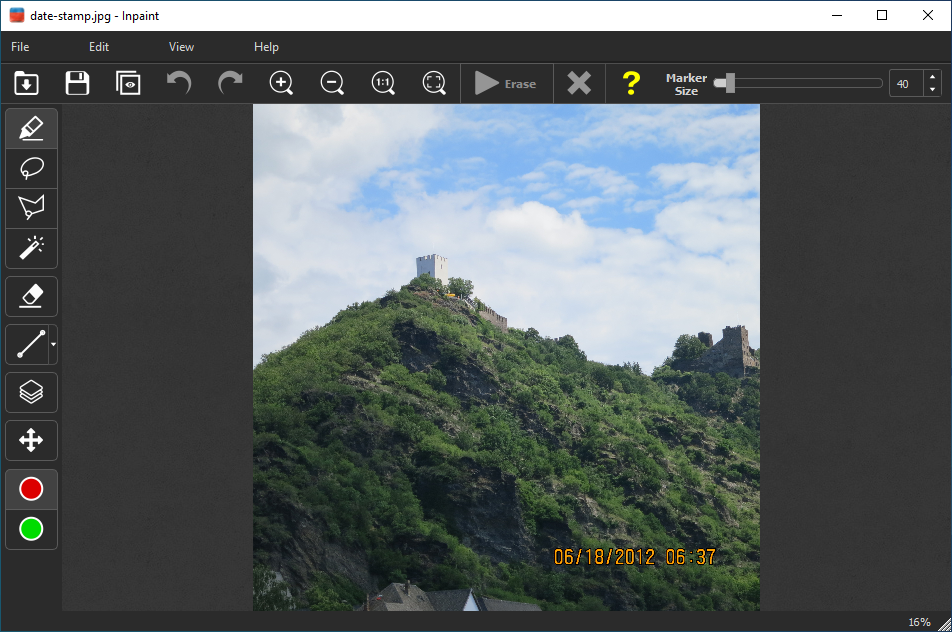
Step 2: Define removal areas
Select an area on the picture that you want to hide or remove.
Note, the selected area is applied to every image, so you don't need to define it for each file manually.
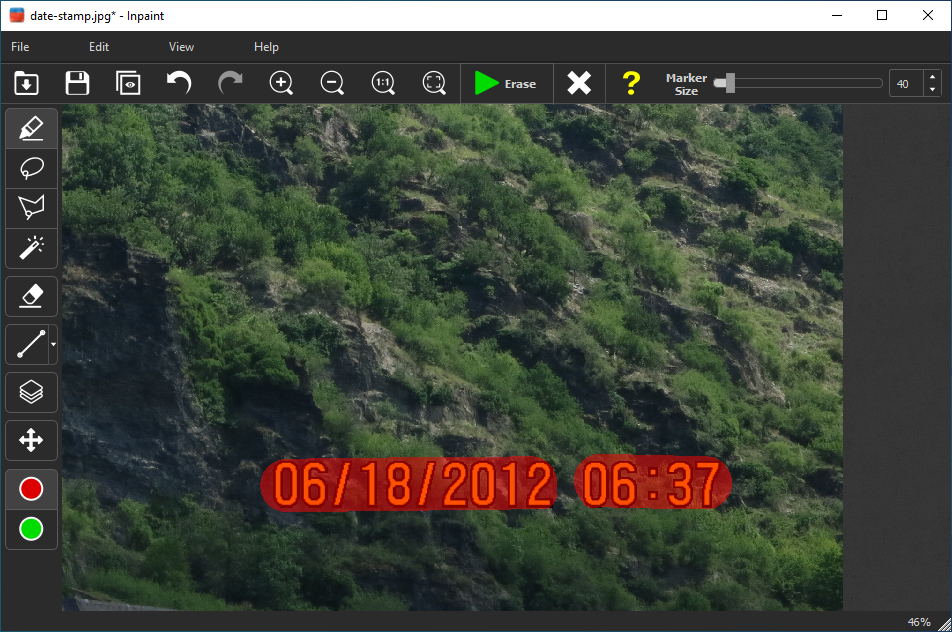
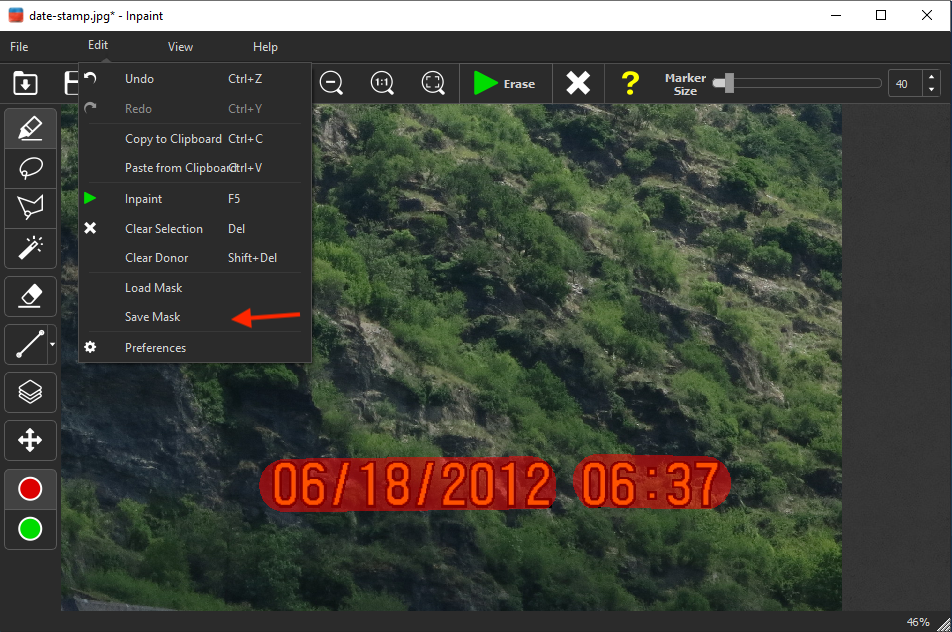
Step 3: Save the Mask
Select the "Edit->Save Mask" menu item.
Step 4: Run processing
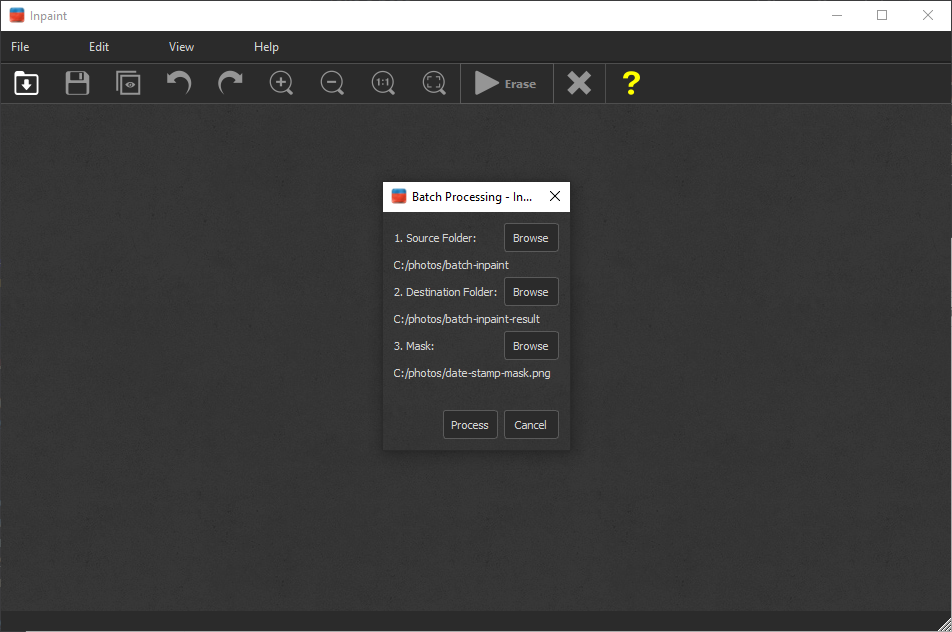
To start the bulk processing select the "File->Batch Processing" menu. This dialog asks to select the source folder, destination folder and the mask, which you saved at step 2. Once you run processing, Inpaint will scan the source folder for all images in following formats: jpg, png, bmp, tif, webp. After that, Inpaint will remove the selected object from each picture and save the results. That’s it!
